
This guide will show you how to use GCRebuilder to modify your ISO of PSO GC. There are two parts to this guide: the first part will show you how to extract a single file from your ISO and then insert the file back into your ISO. The second part will show you how to extract your entire ISO to a folder and then turn that folder back into an ISO.
Never patch the original ISO you dumped from your disc! Always keep a backup copy of the original ISO, in case you make a mistake. It's a real pain to have to dump your disc again if you mess up.
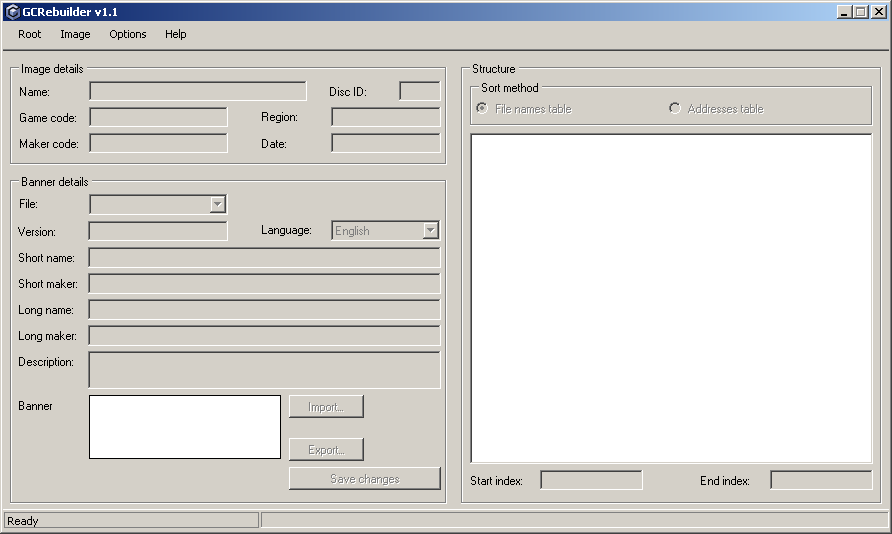
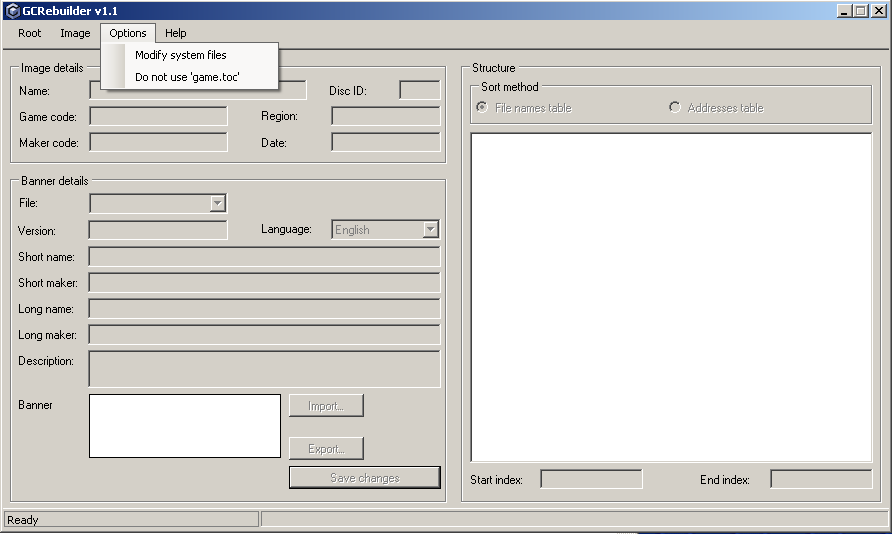
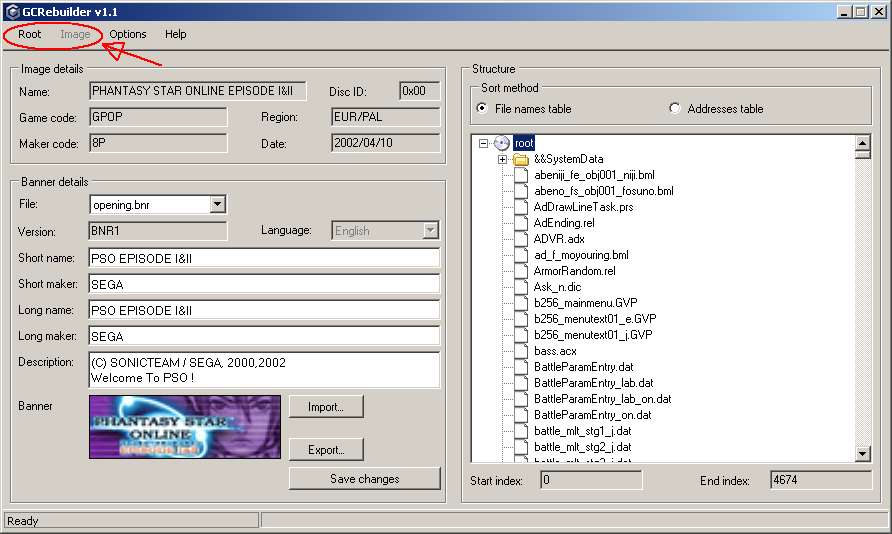
Open GCRebuilder, and you'll see the main window:
Click on the "Image" option in the upper left, then select, "Open..." from the pulldown menu. A standard Windows file open dialogue will appear. Select your ISO of PSO, then click the "Open" button to open your ISO. The GCRebuilder window will now look like this:
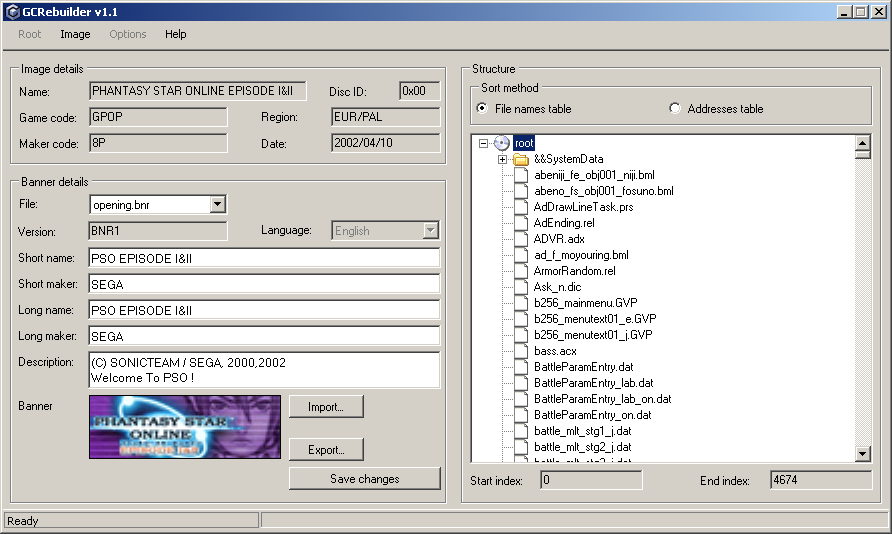
The information on the left will differ slightly based upon which region and release of PSO you have. I'm using the EU/PAL release for this guide.
The file list on the right is what you're interested in. You can see that under "Sort method", the radio button for "File names table" is selected, which means that the files are sorted alphabetically. To find the file you're supposed to replace, use the scrollbar to scroll down until you find the right filename. Since most patches require you to patch "PsoV3.dol", I will use that file in this example.
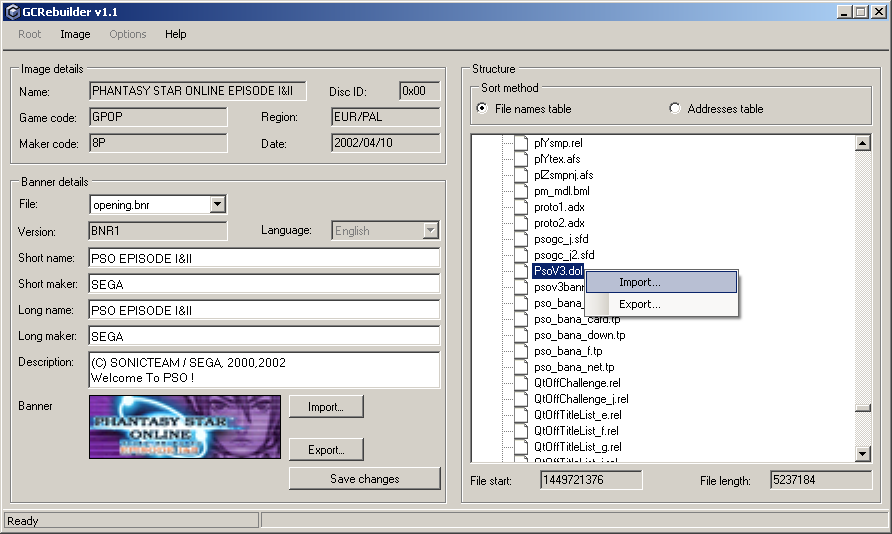
Scroll down until you find files starting with the letter "P". Once you find "PsoV3.dol", right click on the name, and you'll get a little popup menu that looks like this:
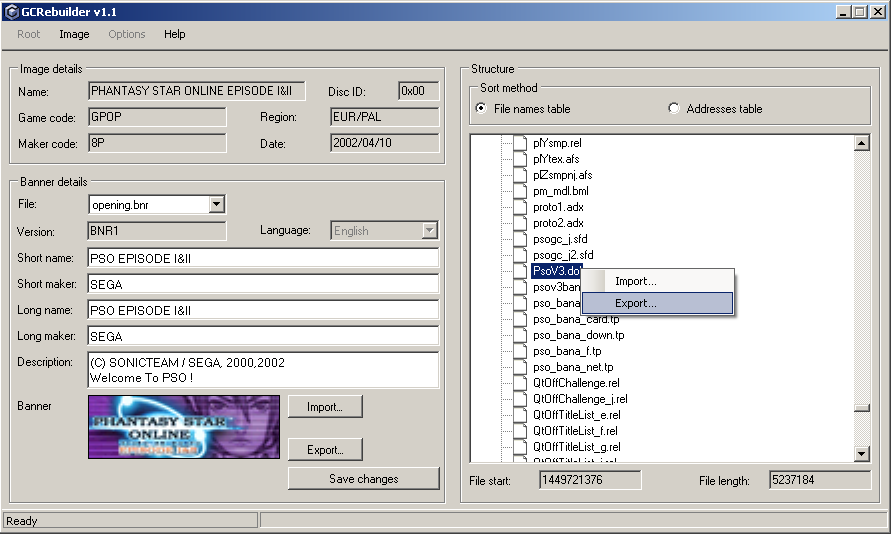
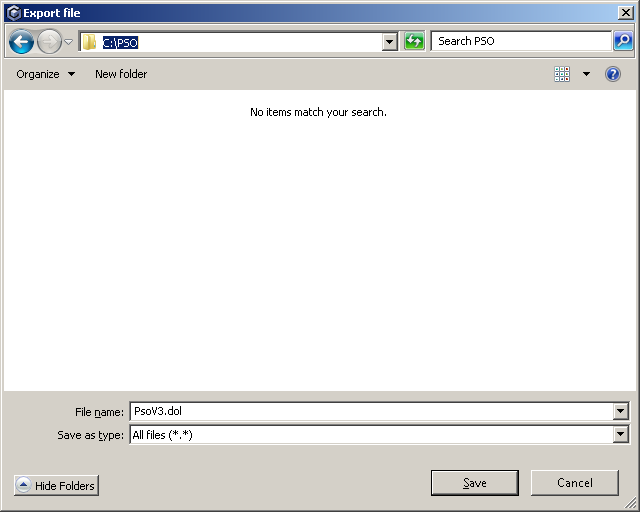
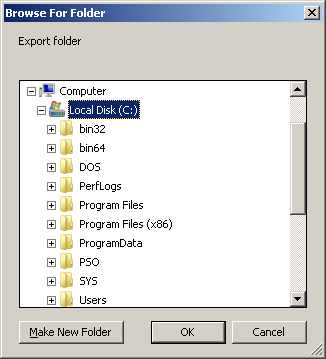
Click the "Export..." option to export "PsoV3.dol" from the ISO. A Windows file save dialogue will open to ask you where you want to save "PsoV3.dol". I suggest saving it to C:\, so it will be easy to find. If you want, you can also create a new folder, such as "C:\PSO":
Click the "Save" button to export "PsoV3.dol" to the folder you've chosen. If the export was successful, you'll see this little success window pop up:
Click "OK" to close this window. The file export is now complete, so you should follow the instructions that came with the patch you want to install. If you want to install more than one patch, you might as well apply all of the patches to "PsoV3.dol" now, while you have it exported. Once you've finished patching "PsoV3.dol", it's time to import the patched file back into your ISO.
In the GCRebuilder window, right click on the "PsoV3.dol" file name again, but this time select the "Import..." option:
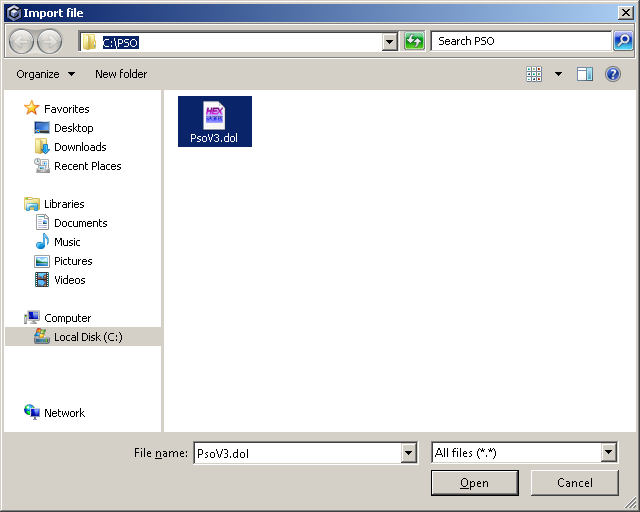
A Windows file open dialogue will appear. Navigate to the folder where you exported "PsoV3.dol" earlier, select the "PsoV3.dol" file that you've patched, then click the "Open" button to import the patched "PsoV3.dol" file. Make sure you import the correct file!
If the import was successful, you'll see another success popup window:
That's it! Now you can use your patched ISO to play PSO. You can also delete the "PsoV3.dol" file you exported and patched, since you don't need it anymore.
Open GCRebuilder, and you'll see the main window:
Click on the "Image" option in the upper left, then select, "Open..." from the pulldown menu. A standard Windows file open dialogue will appear. Select your ISO of PSO, then click the "Open" button to open your ISO. The GCRebuilder window will now look like this:
The information on the left will differ slightly based upon which region and release of PSO you have. I'm using the EU/PAL release for this guide.
Notice how the word "root" is selected in the file list over on the right side of the window. Right click on the word "root", and you'll get a little popup menu that looks like this:
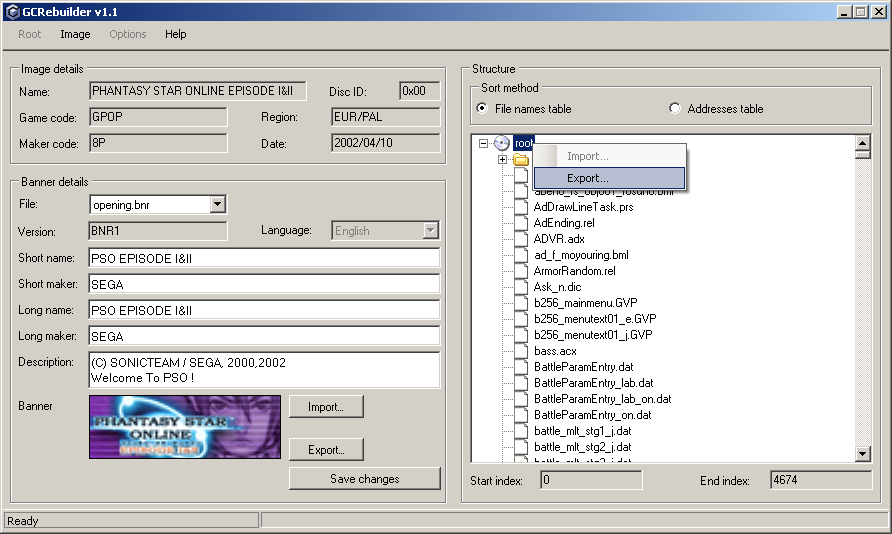
Click the "Export..." option to export the entire contents of the ISO to a folder on your PC. A Windows folder browse dialogue will open to ask you where you want to save the "root" folder. I suggest saving it to C:\, so it will be easy to find:
It will take a lot longer to export the entire ISO than to export just one file, so you can watch the progress bar at the bottom of the GCRebuilder window to see how close GCRebuilder is to finishing the export operation. When the export is complete, you'll see a success popup window:
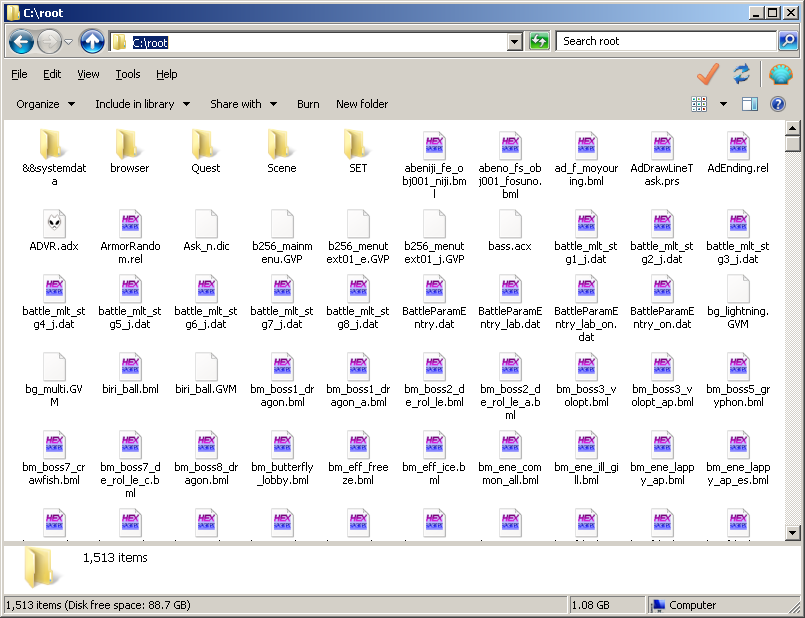
Click "OK" to close this window. Now if you navigate to C:\root with Windows Explorer, you'll see that you have a complete copy of the contents of your ISO:
Your ISO export is now complete, so you should follow the instructions that came with the patch you want to install. Remember not to change any files except the ones that the patch instructions tell you to change. If you want to apply patches to "PsoV3.dol", you might as well apply them now, too, because you already extracted "PsoV3.dol" along with every other file on the disc. Once you've installed all of the patches you want to use, it's time to build a new ISO of PSO using the files in this root folder.
Before you can build a new ISO, you need to do two things. First, you need to close the old ISO. In the GCRebuilder window, click the "Image" option in the upper left, then select the "Close" option from the pulldown menu to close your original ISO, since you don't need to work with it anymore.
The second thing you need to do is click on "Options" and verify that the two items in the pulldown menu are not checked:
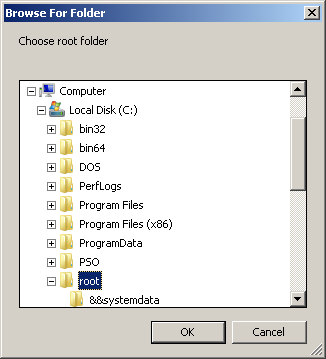
Now click the "Root" option in the upper left, then select "Open..." from the pulldown menu. A Windows folder browse dialogue will appear to ask you which folder you want to open. Select the folder C:\root, then click "OK" to open the folder:
The GCRebuilder window will now look almost the same as it did when you opened your ISO earlier, except for one key difference: the "Root" option is displayed in black, while the "Image" option is grey, which indicates that we are working with a root folder, and not an existing ISO:
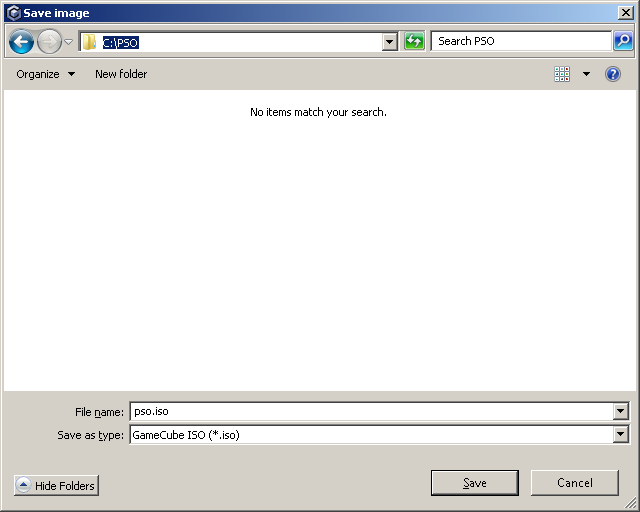
We're almost done. Click on the "Root" option again, and this time select "Save..." from the pulldown menu. A Windows file save dialogue will open to ask you where you want to save the new ISO file you're about to build. Type a name into the "File name" field, then click the "Save" button to confirm the name of your new ISO:
Now we're at the final step. Open the "Root" option one last time, and this time select "Rebuild" from the pulldown menu. You'll see a progress bar at the bottom of the GCRebuilder window to indicate how close the new ISO is to being built. If the new ISO builds successfully, you should see this:
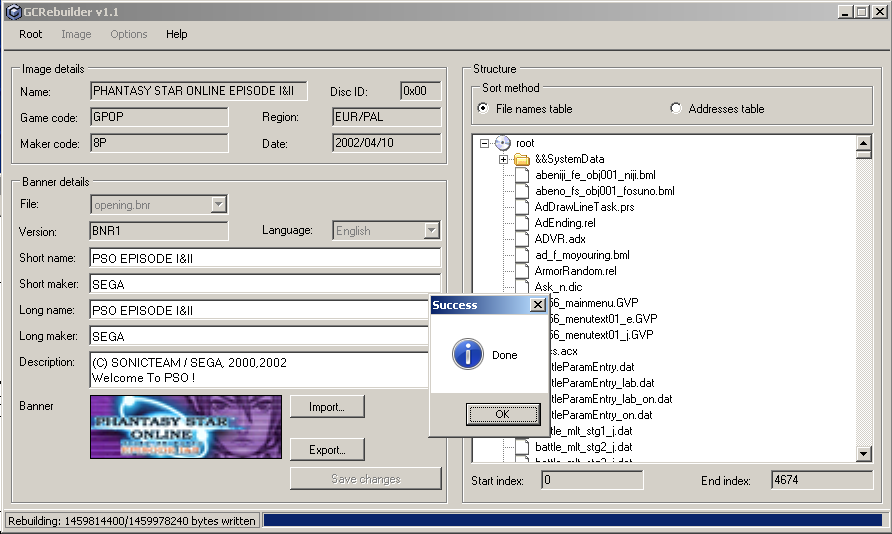
That's it! Click the "OK" button to dismiss the success popup window, and then close GCRebuilder. You can now use your new ISO to play PSO! You can also delete the C:\root folder, since you don't need it anymore.